Webhook Push API
Steps in creating a webhook Push API in Sensorbee Portal
Webhook Push API
Instructions
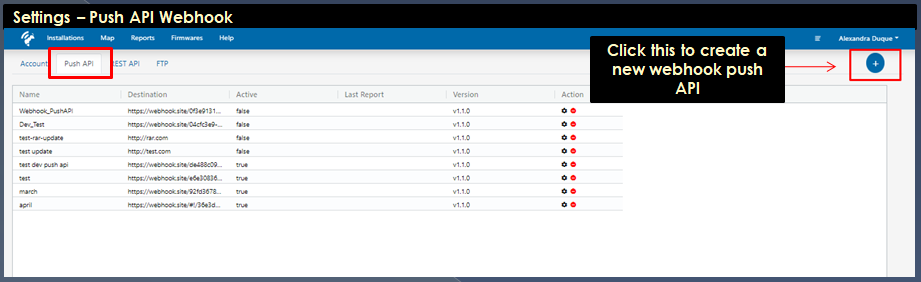
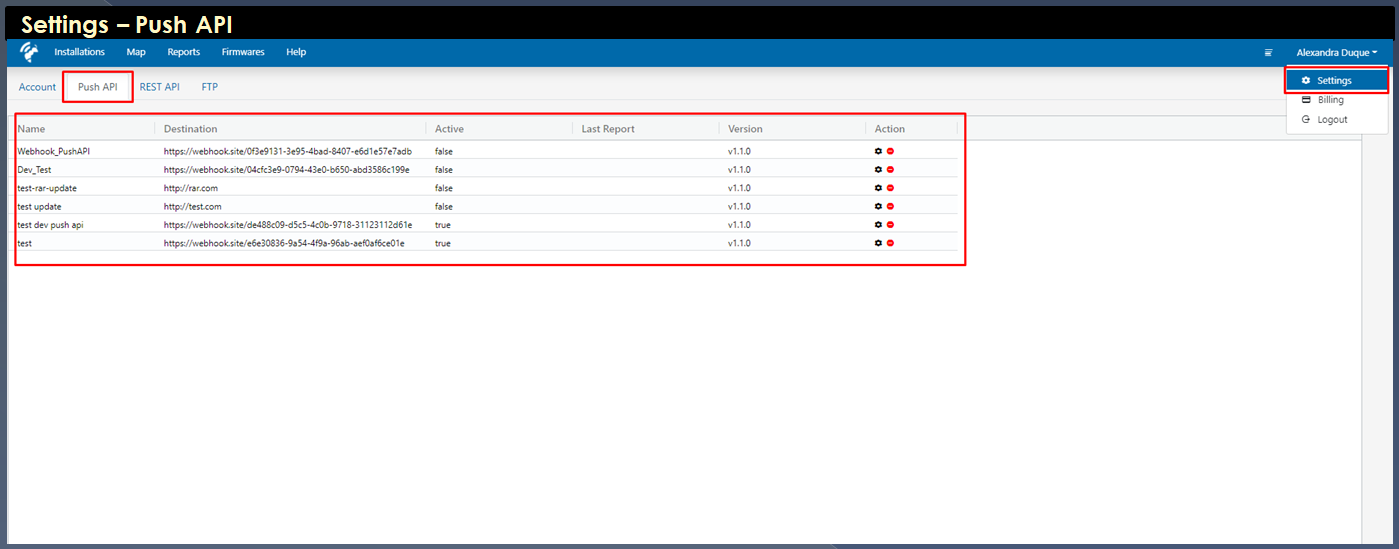
Step 1 Select Push API tab under Settings page to start creating your webhook push API, by clicking the (+) button.
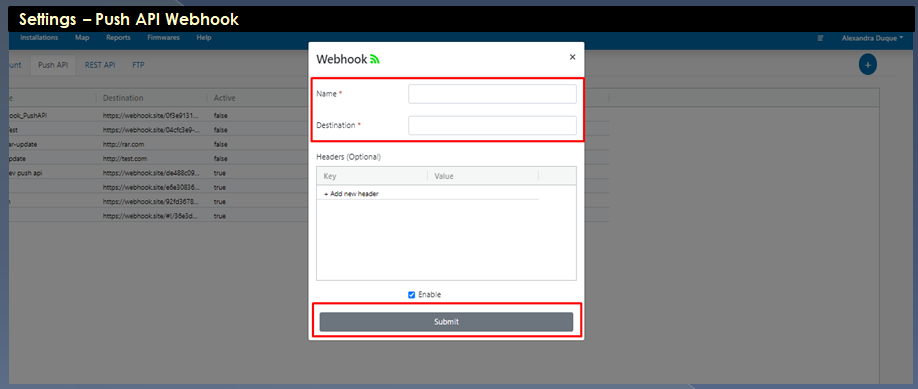
Step 2 Provide the following required information, click enable and submit to save your webhook.
Note:
“Destination” is the webhook URL where a csv file, containing sensor values, and other necessary data from active base units and tags are being sent. A URL endpoint can be any platform, web servers, etc. as long as the URL is accessible from the Web.
“Version”
v1.0.1 supports the first version of API Payload for sending of sensor values, however, we will no longer produce or use this version moving forward, to fully make use of batch sending of sensor values. (only works with the json payload - to be deprecated soon)
v1.1.0 supports API Payload for batch sending of sensor values (only works with the json payload - to be deprecated soon)
“Headers” are for the API key or any other keys that you are using for security purposes.
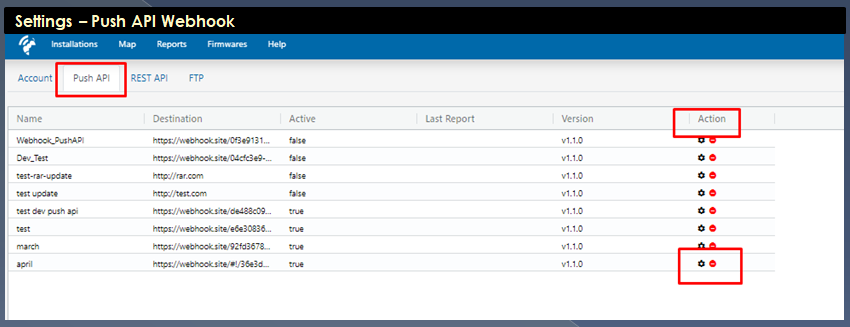
Select “Action” to edit or delete a webhook.
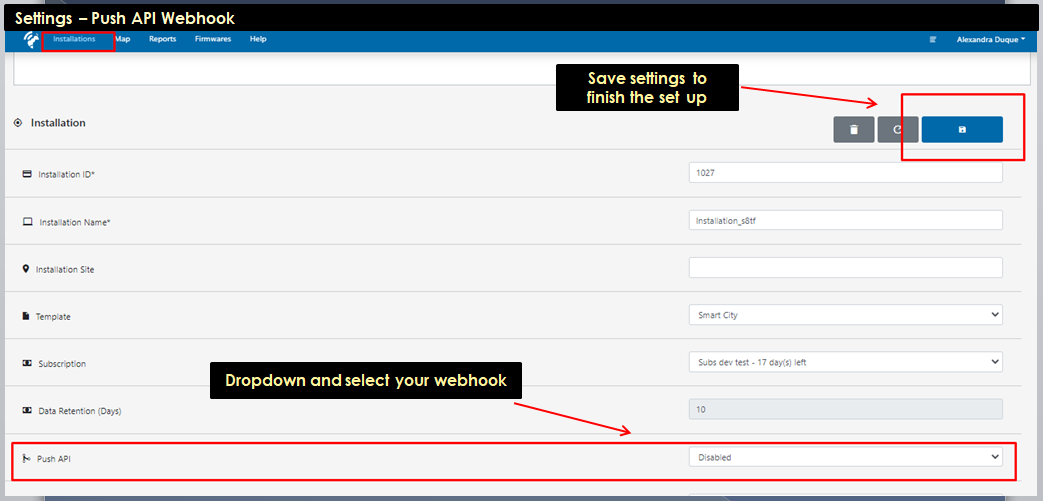
Step 3 Go to Installations and choose the Installation you want to set up your webhook push API. Click the Push API dropdown and select your webhook, then click Save Settings to apply your changes. Webhook Push API is successfully set up. Please check the webhook URL to see the received Push API data in csv.
Last updated